Showing posts with label purchase order. Show all posts

Tuesday, 28 June 2016

How to create Supplier in ERPNext ?

Supplier-A party that supplies goods or services. A supplier may be distinguished from a contractor or subcontractor or company or individual, who commonly adds specialized input to deliverables. Also called vendor. Follow below steps to create Supplier in ERPNext
1)You can create New Supplier in ERPNext vai
Buying->Documents->Supplier->New
or
Accounts->Documents->Supplier->New


2)In the Supplier form you need add Supplier Name,Supplier Type,Supplier Details
Supplier Name-Enter the name of the supplier
Supplier Type-Select the supplier type like Distributor,Electrical,Services,Local etc.
If you want you can also create New Supplier Type by clicking Create a new Supplier Type in Supplier Type

when you click on Create a new Supplier Type,you will get new window as shown below

As shown in above figure in New Supplier Type add new supplier type and credit days and save it.
You can also create New Supplier Type via
Buying->Setup->Supplier Type->New


3)Enter Supplier details in Supplier form and save it. After saving it looks like


4)When you create new supplier,ERPNext will create Accounting Ledger automatically for supplier under Account Payable in the Company set in the supplier record.

5)You can also create Supplier while entering new Purchase Order/Purchase Receipt/Purchase Invoice

In the above figure you can see while creating new Purchase Order we can create a new Supplier by clicking create a new Supplier in Supplier field.


Purchase Order Creation in ERPNext or How to create Purchase Order in ERPNext ?

You can create Purchase Order from Supplier Quotation and Material Request or We can Create Purchase Order directly by
1)Goto Buying->Purchase Order->New
In the Purchase Order select Supplier from which you are buying goods and add Items

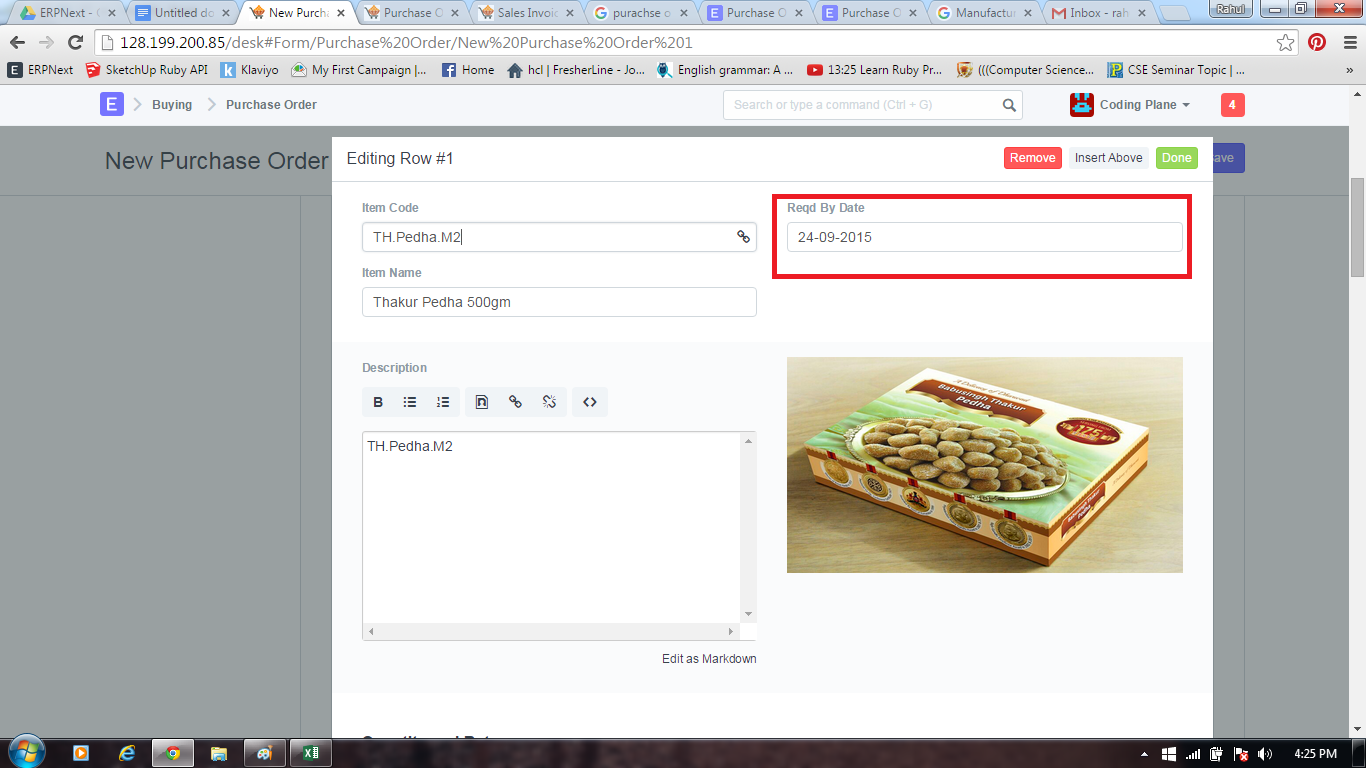
While adding Items you can see Reqd By Date, Here you can enter the date when you want that Item

2)While adding Item you can add Item quantity,Rate,UOM also.
Sometimes your Stock UOM and Supplier UOM varies, For example your supplier sends item in terms of UOM Box and and you maintain that item in Nos ie your Stock UOM, that time you can use Conversion Factor

in the above diagram you can see seller UOM is Box and our UOM is Nos. 1Box=10Nos so in UOM Conversion factor we entered 10. Here our suppliers send 10Box of item and 1Box contains 10Nos means we will receive 100Nos unit of item so in the above diagram you can see Qty as per Stock UOM is 100. If you want you can also add Project Name,BOM. Mention the warehouse for which you are buying the Item.

3)You can also add Taxes like VAT(Value Added Tax) in Purchase Order(PO). Your supplier will charge tax for you and the same you will charge to your customer.

In Taxes and Charges Field you can add expense account head,Tax amount rate,Description etc

In the above diagram you can see how we added Tax account head and its rate. You can create separate account head for Taxes.
4)After entering all data Save and Submit the form. From Purchase Order you can create Purchase Receipt and Purchase Invoice


Tuesday, 14 June 2016

How to create Purchase Invoice in ERPNext?

Purchase Invoice is the bill that your supplier sends you for the products or services delivered or A purchase invoice is an itemized statement of the goods or services provided by a vendor or supplier. indicates the quantity and price of each product or service provided or to be provided.
Follow below steps to create Purchase Invoice in ERPNext
1)Goto Accounts->Documents->Purchase Invoice->New
or
You can create Purchase Invoice by clicking Invoice in Purchase Order/Purchase Receipt
or
You can create Purchase Invoice by clicking/importing From Purchase Order/From Purchase Invoice in New Purchase Invoice
mail60.png
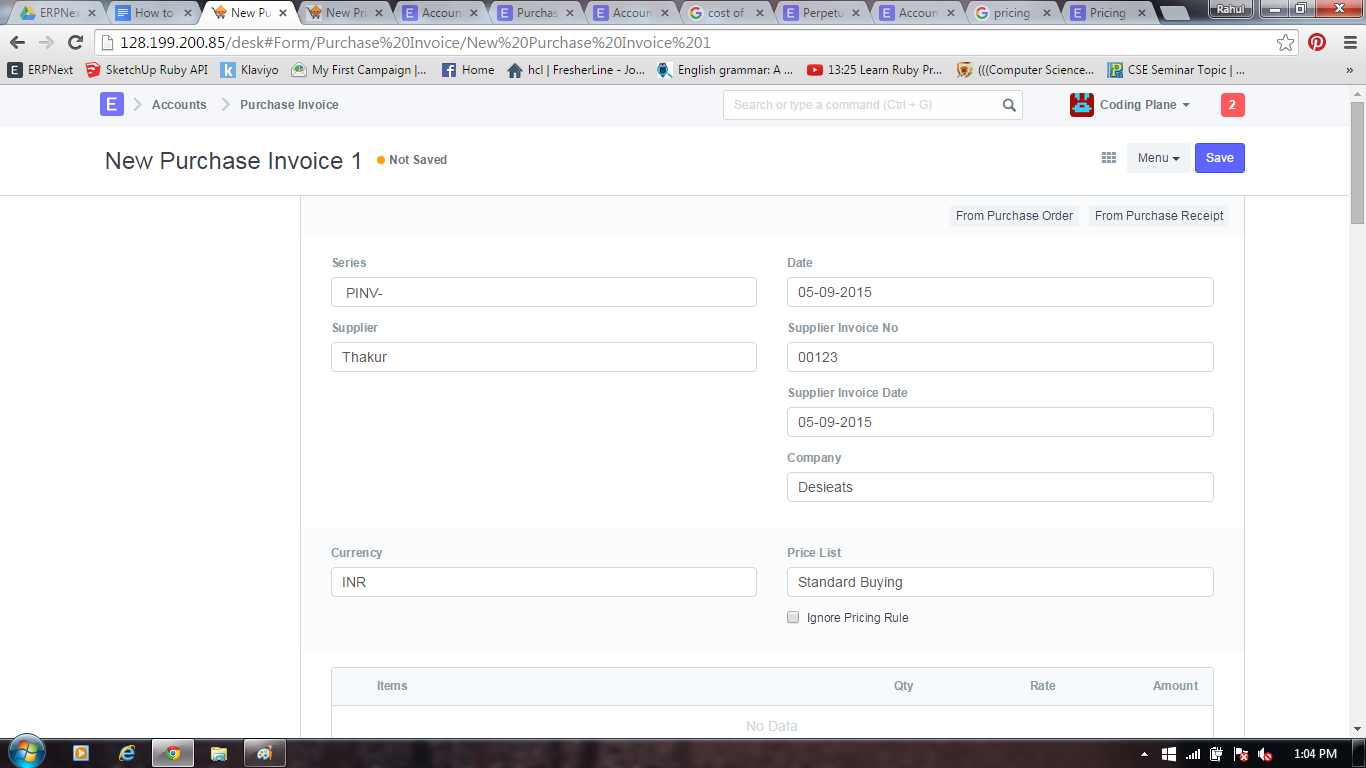
In the above diagram you can see, we are going to create Purchase Invoice via Accounts->Documents->Purchase Invoice->New
Here you enter all the details of supplier like Supplier Name,Supplier Invoice No,Supplier Invoice Date etc
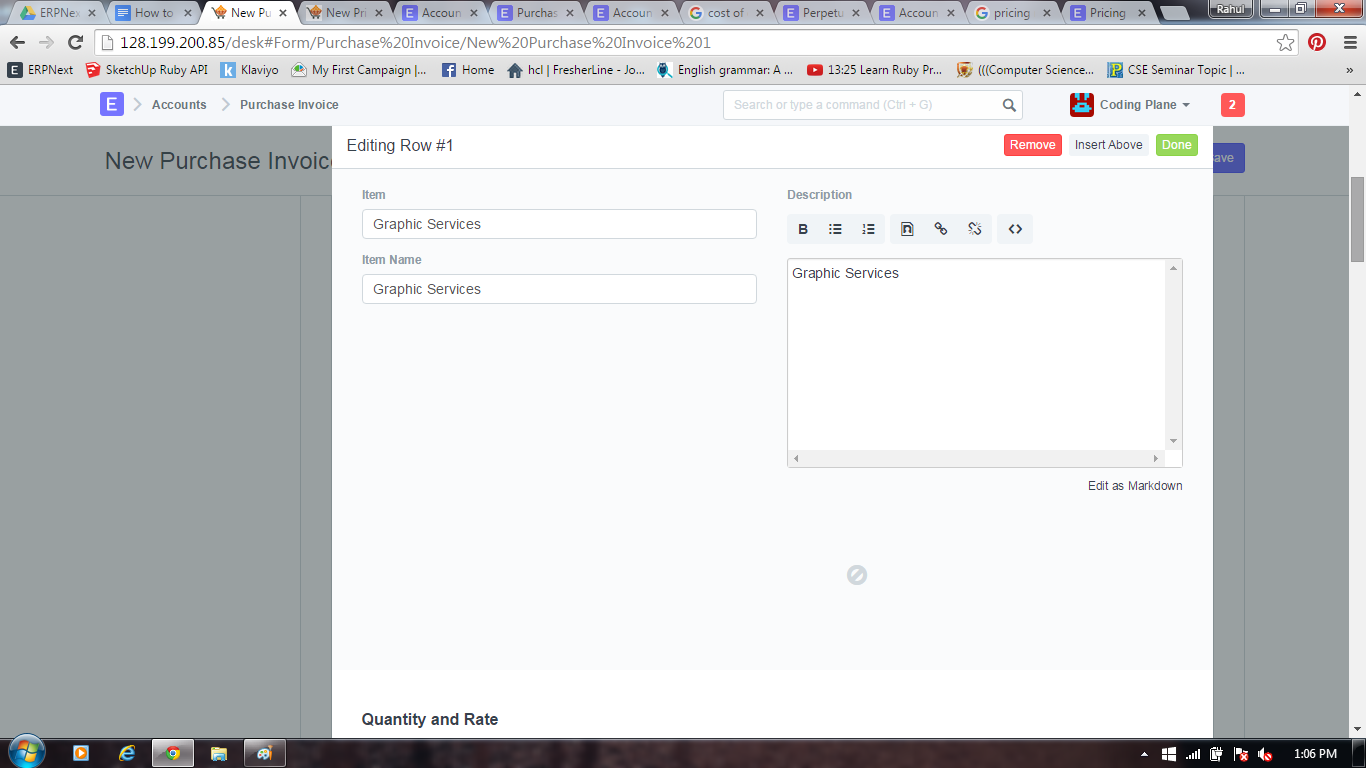
2)In the Item field add Item details as shown in below diagram
mail61.png
After that enter Quantity and Rate for Item
mail62.png
In the above diagram you can see, in the Accounting we have to add Expense Head/Expense Account Head
Expense Head-Expense Account is an arrangement under which money spent in the course of business.In the above digram you can see we added expense account head for item Graphic Services is Graphic Service - DE. Here Graphic Services is a service item so that we created separate expense account head for that.You can create separate account head for your service items.
If item is a stock Item and you are generating Purchase Invoice from Purchase Order/Purchase Receipt then no need to choose Expense Account Head because ERPNext will automatically
select Expense Account Head for stock items ie it will select Stock Received But Not Billed as expense account head in Purchase Invoice.
3)Add Tax value in Taxes and Charges field
mail63.png
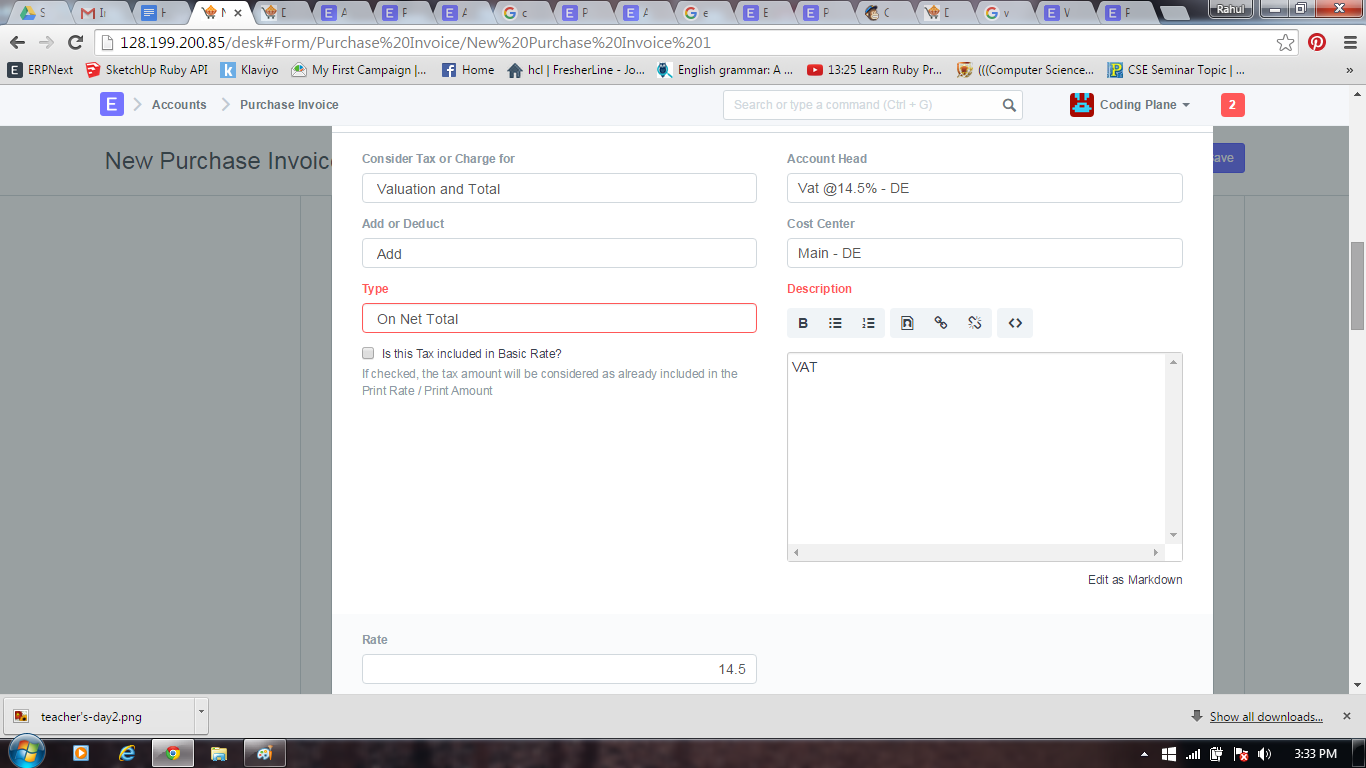
In the above diagram you can see how we added Taxes and Charges
Here you can select separate account head for taxes like Vat,Service tax,TDR
4)After adding all data in Purchase Invoice Save it and Submit.
After submitting Purchase Invoice check ledger to see how accounting entries are done
mail65.png
In the above figure you can see,How Accounting entries for Purchase will be made
Credit
Supplier account will be Credited(here account head is Creditors - DE)
Debit
Tax(VAT@5.5% - DE) and stock expense account(Stock Received But Not Billed - DE) will be Debited